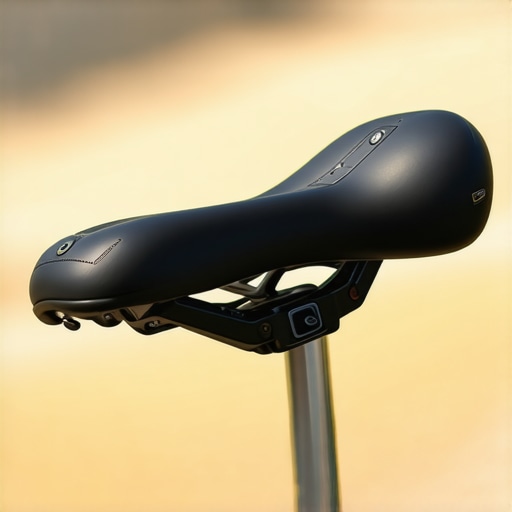
Why Your Tailbone Hurts After Cycling and How to Fix the Seat
I remember the exact moment I realized my love affair with my road bike was becoming a literal pain in the rear. I’d just finished a beautiful twenty-mile loop, but as I tried to dismount, a sharp, biting ache shot through my coccyx. I hobbled into the house like I’d aged forty years in two hours. It wasn’t just saddle soreness in the muscles; it felt deep, bony, and frankly, quite alarming. If you’ve ever felt like your tailbone is being pulverized by your own bicycle, you aren’t alone, and you definitely don’t have to give up the sport. Today, I’m going to show you exactly how to stop that bruising sensation and how to dial in your seat so you can actually enjoy the scenery again.
Stop Blaming Your Fitness and Start Looking at Your Saddle
For a long time, I thought I just needed to toughen up. I figured my body would eventually adapt to the pressure. That was my first big mistake. I actually went out and bought the biggest, squishiest gel seat cover I could find, thinking more padding equaled less pain. Boy, was I wrong. Excessive padding often causes you to sink in, putting even more pressure on the delicate soft tissues and the tailbone itself rather than your sit bones. It’s a common misconception that cycling has to hurt. When your tailbone is taking the brunt of your weight, it’s often a sign of poor pelvic tilt or an improperly angled saddle. Many riders suffer in silence, much like people who wonder why your tailbone hurts after sitting for 10 minutes at a desk. The mechanics are surprisingly similar. According to a study published by the Journal of Sexual Medicine, improperly fitted saddles can lead to significant localized pressure, which isn’t just uncomfortable—it can lead to long-term nerve issues. Have you ever had to cut a ride short because the throbbing became unbearable?
Is a professional bike fit actually worth the money?
You might be skeptical. I was. I didn’t want to drop a hundred bucks just for someone to tell me to move my seat up an inch. But here’s the reality: even a three-degree tilt in your saddle nose can be the difference between a joyful ride and a week of limping. When I finally sought help, I realized I was riding with my seat far too high, forcing my pelvis to rock and grind my tailbone against the back of the saddle. It’s all about understanding back pain and its link to posture. Once I adjusted the angle and height, the relief was almost instantaneous. We are going to look at the exact adjustments you can make at home before you spend a dime on new gear, focusing on how the pelvic tilt secret can actually apply to your time in the saddle as well. If you have been struggling with this, tell me—does the pain start immediately, or only after the first five miles?
Flatten the Angle to Free Your Spine
First, grab a spirit level or a leveling app on your phone. Most people assume a level saddle is the default, but if you have a sensitive coccyx, a tiny one- or two-degree downward tilt can shift the weight forward and away from the tailbone. However, don’t overdo it. If the nose is too low, you’ll slide forward, putting immense pressure on your wrists and shoulders. It is a delicate balance. Much like the pelvic tilt trick for instant lumbar relief, small adjustments in your pelvic angle on the bike can drastically change how your weight is distributed. When you find that sweet spot, your weight should rest firmly on your sit bones, not the soft tissue in the middle.
Stop the Pelvic Rocking with Correct Height
If your saddle is even a few millimeters too high, your hips will rock back and forth as you reach for the bottom of the pedal stroke. This constant seesaw motion grinds your tailbone against the saddle material. To check this, place your heels on the pedals and pedal backward. If your hips have to drop or tilt to keep your heel in contact with the pedal at the bottom, your seat is too high. I remember a particularly grueling ride through the rolling hills of Omaha where I thought my fitness was failing because my lower back was screaming. In reality, I had raised my seat the day before, thinking it would make me faster. I ended up hobbling for three days because that extra height forced my pelvis into a compromised position. Lowering it just a fraction allowed me to restore your range and keep my pelvis stable. 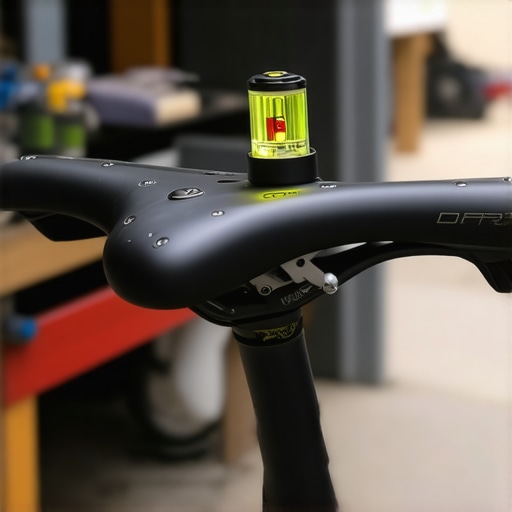
Measure Your Sit Bones Before Buying New Gear
Not all saddles are created equal, and more cushion is rarely the answer. You need a saddle that is wide enough to support your ischial tuberosities—those bony points at the bottom of your pelvis. If the saddle is too narrow, those bones hang off the edges, and your body weight collapses onto the tailbone and perineum. You can measure this at home by sitting on a piece of corrugated cardboard placed on a flat bench. The indentations left behind are your sit bone width. Choose a saddle that matches that width. This technical approach is part of a broader mobility mastery routine that ensures your equipment works with your anatomy rather than against it.
Adjust the Fore-Aft Position
Many riders forget that the saddle can move forward and backward on its rails. If you are reaching too far for the handlebars, you might be scooting to the very back of the seat, where the padding is often thinner and the tailbone is more exposed. Use a plumb line from the front of your kneecap while your pedals are horizontal; the line should drop straight through the pedal axle. This alignment is crucial because an offset position often explains why your lower back aches after standing for 10 minutes or riding for twenty. By centering yourself, you take the sheer force off the base of your spine and let your core do the work of stabilizing your torso.But even with the perfect seat position, many riders fall into a more subtle trap: the belief that flexibility is the ultimate cure. I spent years thinking that if I could just touch my toes with my palms, my back would stop aching. I was wrong. Let’s look at why more movement isn’t always better.
Stop Over-Stretching Your Way Into More Pain
It sounds counterintuitive, but for many cyclists, the secret to a happy tailbone isn’t more flexibility—it’s more stability. We are constantly told to stretch our hamstrings, but why stretching your hamstrings won’t fix your lower back pain is actually quite simple: if your hamstrings are too loose, your pelvis can tilt too far forward or backward without any resistance, leaving your coccyx at the mercy of every vibration. In my experience, focusing on mobility mastery means finding the balance between being supple and being strong. If you are hyper-mobile, you are essentially ‘bottoming out’ your spinal suspension on every pedal stroke.
The Rigid Spine Trap You Must Avoid
Another advanced mistake I see is the ‘Statue Technique.’ You think you’re protecting your back by keeping it perfectly straight and rigid. In reality, you are turning your spine into a solid pillar of bone that cannot absorb force. Your spine needs to have a subtle, natural curve to act as a spring. When you lock your lower back, you force the SI joint to take the brunt of the work, which quickly translates into that sharp tailbone ache. This is a huge part of relieve neck back discomfort using these expert methods; you have to allow for micro-movements. This is often why your back feels better when you keep moving rather than holding one ‘perfect’ posture for three hours. #IMAGE_PLACE_HOLDER_C#
Ditch the Ultra-Padded Bib Shorts
It sounds like heresy, but thicker padding in your shorts often creates a false sense of security. Just like the gel seat, too much foam in your bibs allows your sit bones to sink until the foam bunches up around your tailbone. This creates a friction point that wasn’t there before. A thinner, high-quality chamois actually allows you to feel where your bones are hitting the seat, which is vital for making those micro-adjustments we discussed earlier. Many beginners try to mask poor bike fit with more foam, but you cannot out-pad a bad pelvic angle.
Does your neck position actually change the way your tailbone hits the seat?
It might seem like the two ends of the spine are unrelated, but the human body is a single kinetic chain. If you are craning your neck upward to look at the horizon because your handlebars are too low, you are creating a ‘tension bridge’ that pulls on the fascia all the way down to your sacrum. This tension can subtly pull your pelvis out of alignment, making your tailbone the primary point of contact with the saddle. According to a study in the Journal of Science and Medicine in Sport, core stability and the ability to maintain a neutral head position are more critical for long-distance comfort than extreme limb flexibility. Have you ever fallen into this trap of buying more gear instead of fixing your form? Let me know in the comments. By understanding these nuances, you stop guessing and start riding with actual precision.Maintenance is the part everyone skips until they are back on the floor with a heat pack. If you want to stay in the saddle for decades, you need to treat your bike like a precision instrument. I personally use a preset torque wrench for every single bolt adjustment. Why? Because a slipping seat post—even by a few millimeters—can reignite that coccyx flare-up instantly, turning a recovery ride into a week of stiffness. It is about more than just the bike; it is about your personal mobility mastery and ensuring your hardware does not sabotage your biology.
Check Your Torque and Your Tension
Beyond the bike itself, I swear by a regular ‘recovery scan.’ After every hard ride, I spend ten minutes checking my pelvic alignment. If I feel a significant pull on one side, I know my saddle might have shifted or my glutes are tightening unevenly. This constant self-assessment is the foundation of how to boost your back health over years of riding. 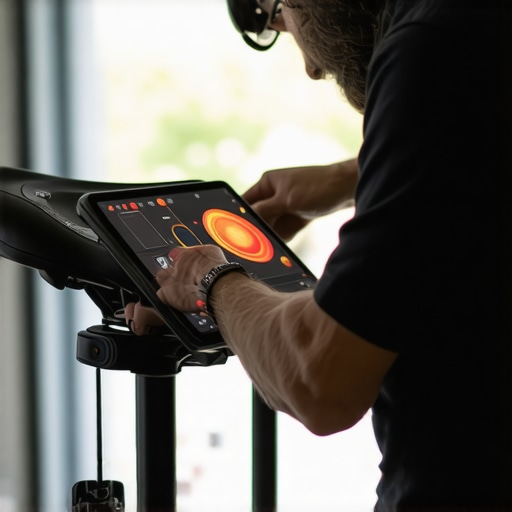
How do I keep my spine happy during long-distance rides?
The answer is not usually found in the bike shop; it is in your pre-ride ritual. I have found that spending five minutes on a foam roller to release the hip flexors before clipping in prevents the ‘tug-of-war’ on my lower back. When your hips are open, you can maintain a neutral pelvis without fighting your own muscles for three hours. This proactive approach allows you to restore your range and keep the pressure off the sensitive tailbone area even during steep climbs.
Why You Should Trust Pressure Mapping Over Your Gut
If you are serious about long-term comfort, look for a fitter who uses technology like GebioMized pressure mapping. It is essentially a flexible sleeve that goes over your saddle and shows exactly where your weight is distributed in real-time as you pedal. I used this to discover that while I thought I was centered, I was actually leaning 60% onto my left side, which explained my recurring SI joint issues. As noted by cycling ergonomics specialists at GebioMized, saddle pressure mapping is the only way to objectively quantify the interaction between the rider and the bike. This level of precision is the future. I predict that within five years, we will see ‘smart’ saddles with built-in sensors that sync to your cycling computer, alerting you with a vibration when your posture shifts into a high-pressure zone.
The Recovery Tool That Actually Works
When I do get a bit of tightness, I do not just wait for it to fade. I learned how to use a massage gun on your lower back safely to target the glutes and piriformis specifically. By loosening the muscles that pull on the sacrum, you give your tailbone room to breathe and maintain proper spinal hygiene. **My challenge to you:** Grab your bike tools tonight and check if your saddle has slipped even a tiny bit or if the angle has changed. That one-millimeter fix could be the reason your next ride feels effortless.
The Lightbulb Moment That Saved My Tailbone
After years of tinkering, I finally realized that my tailbone pain wasn’t always a bike problem; it was a stability problem. Here are a few things I learned the hard way:
- Stiffness is the enemy: I used to think a rigid spine was a strong spine, but all that tension just funneled road vibration directly into my coccyx.
- The millimeters matter: A saddle that is just 3mm too high can cause a pelvic rock that grinds your tailbone into the seat for hours.
- Pelvic tilt is dynamic: You cannot set your posture once and forget it; you have to actively manage your mobility mastery throughout the ride.
#IMAGE_PLACEHOLDER_E#
My Personal Arsenal for Pain-Free Miles
I don’t leave for a long haul without checking my gear first. To keep the pressure off, I rely on a preset torque wrench to ensure my seat post never slips mid-climb. I also prioritize my post-ride recovery by learning how to use a massage gun on your lower back safely, which helps release the glutes that pull on my sacrum. Finally, a simple foam roller is my best friend for opening up hip flexors before I even clip into the pedals.
Your Best Rides are Still Ahead of You
Don’t let a sore tailbone convince you to hang up the helmet. By focusing on precision and learning how to boost your back health through small, consistent adjustments, you can reclaim the joy of the open road. It takes a bit of patience to find that sweet spot, but the reward is a ride where you notice the sunset, not your seat. Have you found a specific saddle tilt or width that finally fixed your tailbone pain? Let me know in the comments below.