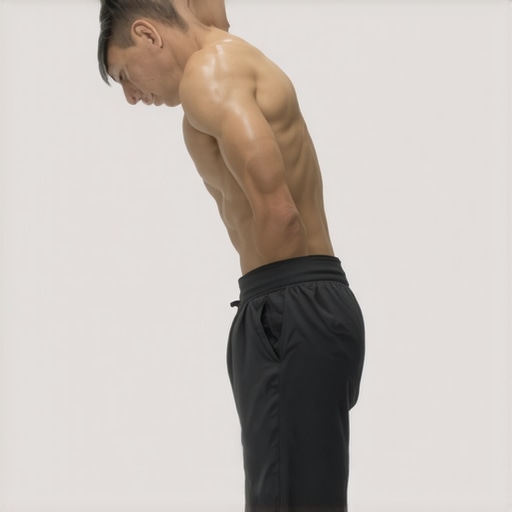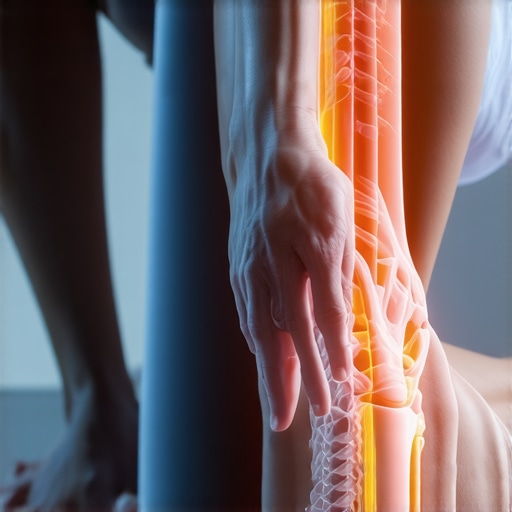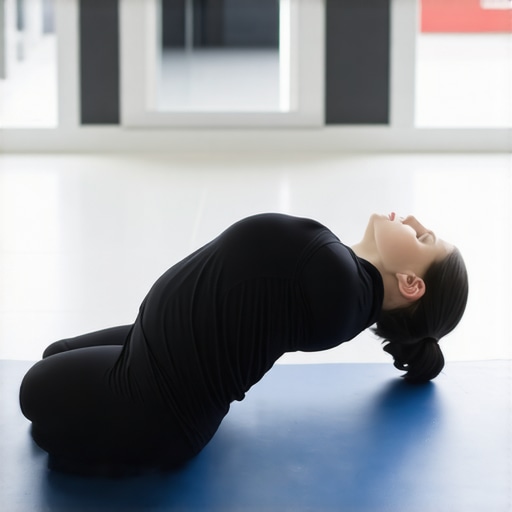
The bridge exercise variation for a stable SI joint
I remember the exact moment my lower back decided to quit on me. I was lying on my living room floor, trying to push through what I thought was a standard, helpful core routine. Instead of feeling a satisfying glute burn, a sharp, white-hot needle of pain shot straight through my left buttock. It was my sacroiliac joint, screaming in protest. Like so many of us struggling with nagging discomfort, I fell into the trap of believing that any standard glute exercise would miraculously fix my pelvis. That was my first big mistake, and it kept me stiff, frustrated, and limping for months. Standard exercises can easily overload a hypermobile joint if you do not know how to tweak them. Today, we are going to fix that. I will share the exact bridge exercise variation that actually stabilizes your SI joint so you can move without that constant, dull ache.
The Hidden Flaw in Your Daily Bridge Routine
For years, I practiced and recommended the standard glute bridge as a cure-all. But here is the cold truth: a traditional glute bridge often encourages your lower back to arch excessively, putting massive shear stress right on your sacrum. If your pelvis is already slightly out of alignment, squeezing your glutes and shoving your hips as high as possible is like slamming on the gas pedal while your car is still in park. Many well-meaning fitness enthusiasts actually end up worsening their condition because they ignore subtle pelvic alignment. In fact, research published in the journal Spine highlights that shearing forces across the sacroiliac joint are a major, often overlooked contributor to non-specific lower back pain. Instead of forcing high hips, we need to focus on a co-contraction of the deep core and the lower glute fibers. That is why the hip bridge modification for severe lower back sensitivity is such a game-changer for reclaiming your daily comfort.
Is the bridge exercise variation actually worth the hype?
You might be thinking, “Oh great, another minor tweak to an exercise I already hate doing.” I get the skepticism. When you are in pain, the last thing you want to do is roll around on the floor testing out tiny biomechanical adjustments. But this variation is not about working harder; it is about working with your pelvic anatomy. By shifting your foot placement and changing your mental cues, you stop bypassing your deep stabilizing muscles. If you have been desperately trying to find relief, you have probably realized that why stretching your hamstrings won’t fix your lower back pain is because the root issue is often a lack of pelvic stability, not muscle tightness. Have you ever felt that frustrating, deep ache in your tailbone or hip after doing standard gym exercises? Tell me about your experience in the comments below—I would love to hear what has or hasn’t worked for you. Now, let us dive into the mechanics of how we can transform this classic movement into a pain-free stability anchor.
Step-by-Step Blueprint to Save Your Sacroiliac Joint
For months after my own painful wake-up call, I worked on finding the sweet spot where glute activation meets pelvic peace. I found that adjusting your setup changes everything. Think of your pelvis like a bucket filled with water: if you arch your back too much, water spills out the front; if you round too much, it spills out the back. To keep that water level, we need to master a subtle pelvic tilt before we ever leave the floor. If you want to dive deeper into how small changes in your gait and posture influence your spinal column, understanding what your walking pattern says about your spinal health is a fantastic place to start. Let us walk through the exact physical execution of this modified bridge, focusing on precision over height.
Step 1: Shorten Your Lever and Save Your Back
Lie flat on your back on a firm surface, preferably a yoga mat. Do not use your bed; the soft mattress will absorb your effort and encourage pelvic instability. Bend your knees, but instead of pulling your heels close to your glutes as most fitness trainers advise, walk your feet about three to four inches further away. By extending your legs slightly, you take pressure off the patella and lessen the knee-dominant shearing forces that can rattle a sensitive lower back. Keeping your feet flat, make sure they are hip-width apart and pointing straight ahead. 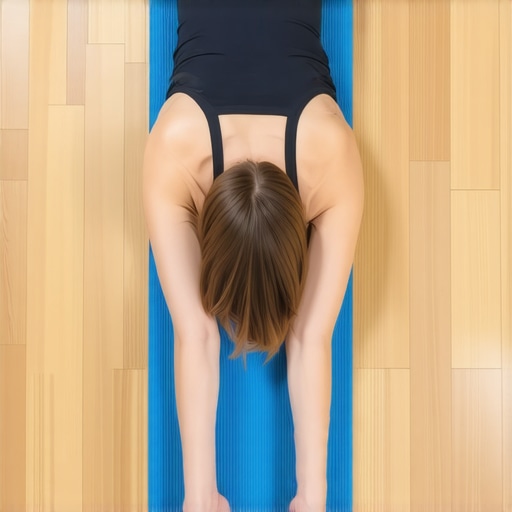
Step 2: The Core Lock Before the Lift
Before your hips budge a single inch, you must lock in your abdominal wall. Imagine you are about to get poked in the stomach. You do not suck your belly in; rather, you brace outwards. This action engages the transverse abdominis, which acts like a built-in lumbar corset. Once braced, press your lower back flat into the floor by performing a tiny posterior pelvic tilt. Mastering this small movement is crucial, similar to how learning the pelvic tilt secret for effortless posture while walking completely changes your posture on the move. When you feel your lower spine gently kiss the floor, you are ready.
Step 3: Drive Through the Heels and Hover
Now, instead of pushing off your toes, drive your energy down purely through your heels. Lift your hips off the floor, but only lift them three to five inches. This is the crucial part where most people fail: do not go for maximum height. If you try to create a straight diagonal line from your knees to your shoulders, you will likely arch your lower back and trigger that familiar SI joint pinch. We are looking for a ‘hover’ rather than a towering bridge. During my recovery, I used to get greedy and try to lift higher, only to feel my lower back tighten instantly. When I humbled myself and stayed low, the nagging ache disappeared, and my glutes finally woke up. For those also dealing with upper body issues, combining these lower body habits with the simple shoulder blade squeeze for instant neck relief can create a total-body release. Hold this low hover for five solid seconds, breathing deeply into your braced abdomen, then slowly lower down, keeping the pelvis level until you touch the floor.
The Stability Myth: Why Core Strength Alone Fails Your Pelvis
We have been told for decades that building a rock-solid core is the ultimate shield against injury. But here is my contrarian view: blindly chasing a stronger core often makes sacroiliac joint instability worse. When you endlessly contract your abdominal wall without addressing pelvic alignment, you create a rigid cylinder that forces your hip joints and sacrum to absorb all the shock. If your pelvic floor is weak or your hips are misaligned, that intense abdominal pressure pushes directly down on a hypermobile SI joint, locking it into a painful, sheared position.
In fact, a study published in the Journal of Biomechanics demonstrated that isolated muscle strengthening without coordinating deep stabilizing systems fails to restore functional pelvic stability. This is why standard strength programs often fall short. To truly find relief, we have to look at the entire kinetic chain and understand why your core strength isn’t stopping your back from hurting before we keep piling on more load.
Are you making the “tuck and squeeze” mistake during pelvic exercises?
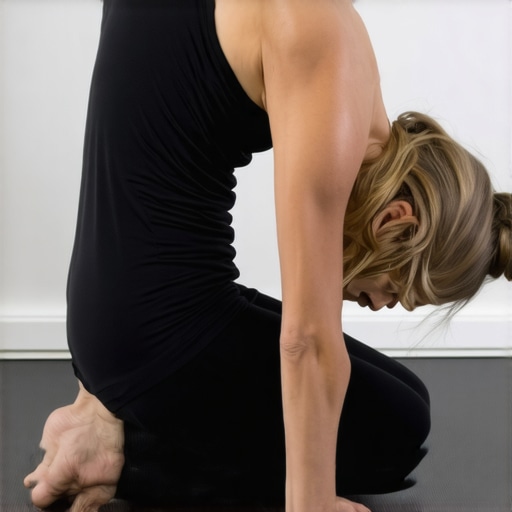
The single biggest “oops” factor I see in rehabilitation programs is the urge to aggressively tuck the tailbone and squeeze the glutes at the peak of every movement. People think they are protecting their spine, but this hyper-activation of the superficial gluteus maximus actually drives the femur forward in its socket. This anterior hip shear places immense tension on the anterior SI joint ligaments, leading to that deep, stubborn ache you feel after a workout. Instead of forcing a hard squeeze, you need a gentle, coordinated activation. If you want to dive deeper into how joint alignment influences your overall movement, learning how to restore your range with chiropractic care can help unravel these chronic compensation patterns.
Have you ever fallen into this trap of squeezing too hard only to wake up stiffer the next day? Let me know in the comments below! Real recovery is about precision, not brute force. Taking a step back to address joint alignment first—rather than just building more muscle on top of a crooked frame—is what ultimately allowed me to return to pain-free movement. To round out your recovery and ensure your entire spine is functioning cohesively, consider how addressing upper body tension through expert tips for unlocking neck pain relief can complement your pelvic stability journey.
Once you stop making the mistake of over-squeezing and over-arching, the focus must shift to long-term pelvic maintenance. Recovering from a sacroiliac flare-up is not a one-time event; it is a daily practice. Over the years, I have tested countless stability tools, and I have learned that you do not need a gym full of expensive equipment to keep your pelvis aligned. In fact, relying on too many complex machines often disconnects you from your body’s natural biofeedback. To maintain my own structural health, I rely on a few carefully selected tools and a strict movement routine.
The Essential Arsenal for Pelvic Maintenance
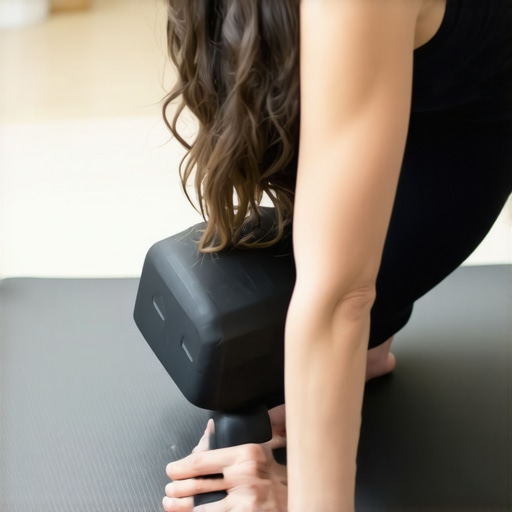
My absolute favorite tool for pelvic maintenance is a simple, high-density foam roller, but not for the reason most people think. I do not use it to aggressively roll out my lower back—which can actually increase hypermobility in a sensitive SI joint. Instead, I place the roller between my knees while lying on my back with my feet flat on the floor. By gently squeezing the roller for five seconds, I activate the adductor muscles, which co-contract with the pelvic floor to naturally reset the pubic symphysis and stabilize the pelvis. If you are looking to build a cohesive routine around these habits, learning simple yet effective chiropractic hacks for back health can streamline your daily practice.
Another indispensable tool in my daily setup is a flat, non-looped resistance band. Wrapping this band just above your knees during a modified low bridge forces the gluteus medius to fire laterally. This external rotation torque is the secret key to holding your sacrum firmly within the ilium bones. According to physical therapy pioneer Shirley Sahrmann, author of Diagnosis and Treatment of Movement Impairment Syndromes, correcting these precise micro-movements of the femur is far more effective for long-term joint health than general strengthening. If you want to complement this lower-body stability with targeted upper-body care, you might also explore essential chiropractic tips for neck pain relief.
How do I keep my pelvis aligned during a busy workday?
The real battle for your lower back is won or lost while you sit. No matter how many modified bridges you perform in the morning, eight hours of slumped sitting will undo your progress. To combat this, I recommend the “active sitting” method. Instead of slouching into your chair’s backrest, sit slightly forward on your sit-bones (the ischial tuberosities) and maintain a very slight anterior tilt in your pelvis. This naturally stacks your spine and prevents the sacrum from slipping into a posterior, vulnerable position. For those who struggle to maintain this position, understanding how to sit at your desk with zero back fatigue can prevent the slow creep of daily pain.
Looking ahead, I predict we will see a major shift away from rigid lumbar supports and toward dynamic, minimalist seating options that encourage continuous, micro-adjustments throughout the day. Your body is designed to move, not to be locked into a perfect, static posture. To fully round out your mobility recovery and ensure your entire spine is functioning as a single, cohesive unit, it is highly beneficial to look at how professional hands-on care can speed up your progress. Discovering how to restore your range with chiropractic care can help you integrate these daily self-care tools with professional adjustments. Try using the foam roller squeeze trick tonight before you go to sleep, and pay close attention to how much more stable your pelvis feels when you step out of bed tomorrow morning.
Once you stop making the mistake of over-squeezing and over-arching, the focus must shift to long-term pelvic maintenance. Recovering from a sacroiliac flare-up is not a one-time event; it is a daily practice. Over the years, I have tested countless stability tools, and I have learned that you do not need a gym full of expensive equipment to keep your pelvis aligned. In fact, relying on too many complex machines often disconnects you from your body’s natural biofeedback.
The Hardest Lessons My Sacrum Taught Me About Recovery
When I was deep in the throes of sacroiliac pain, I fell for some of the most common fitness traps. First, I assumed that if my pelvis felt unstable, I just needed to stretch my hips more. In reality, stretching a hypermobile joint only makes it scream louder. I had to learn that stability always trumps flexibility when dealing with the lower spine.
Second, I realized that pain is a terrible guide for exercise progression. Just because you can push through a movement doesn’t mean you should. The minor adjustments we made to the bridge—like lowering the height and widening the foot stance—felt almost too easy at first, but that exact restraint is what allowed my nervous system to stop guarding and let my stabilizing muscles fire.
Finally, I learned that my pelvis didn’t exist in a vacuum. A stiff mid-back or a locked neck can trickle down the spine and force your pelvis to overcompensate. To keep everything functioning cohesively, I found that introducing the cat-cow variation for targeted mid-back relief was essential to unload the stress on my lower sacrum.
My Minimalist Toolkit for Daily Spinal Resilience
You don’t need a basement full of rehabilitation gadgets to keep your spine happy. Over my years of trial and error, I have narrowed my daily maintenance down to three simple, highly effective tools:
- A High-Density Foam Roller: Not for rolling out your lower back, but for placing between your knees during bridges and pelvic tilts to engage the adductors and naturally reset your pubic symphysis.
- A Flat Latex Resistance Band: Wrapping this around your thighs just above the knees forces your lateral glutes to fire, which pulls the ilium bones into a tight, secure lock around your sacrum.
- A Dynamic Seat Wedge: This helps maintain a natural pelvic tilt during long drives or office hours, ensuring you don’t default back into a slumped, tailbone-crushing posture. If you sit for long periods, combining this with a few tips on how to drive for hours without upper back stiffness can be a lifesaver.
Your Blueprint for a Pain-Free Pelvis
It is time to take back control of your body and stop letting constant pelvic discomfort dictate how you live your life. By choosing precise, mindful movement over brute force and endless heavy reps, you give your joints the chance to heal and stabilize. Structural health and lasting back pain relief are not about doing the most intense workout; they are about doing the right movements with absolute consistency.
Start with the modified low-hover bridge tonight, pay attention to the subtle cues of your body, and let your deep stabilizing system do the job it was designed to do.
Did you feel a difference in your lower back when you kept your bridge low instead of lifting as high as possible? Let me know your experience in the comments below!